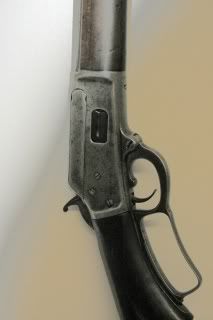
I thought I'd share with other collectors the steps in the restoration of an
1889 pistol grip deluxe rifle. I decided to restore this rifle for several reasons. The barrel and magazine tube had been cut, it had zero original finish, the bore looked like a cave and the stock was cracked and the checkering just about gone. Besides, it was a deluxe and deserved better. This is a work in progress and the receiver, buttplate, hammer and lever will be case colored as part of the case coloring experiment that is mentioned in the levergun section of this board.
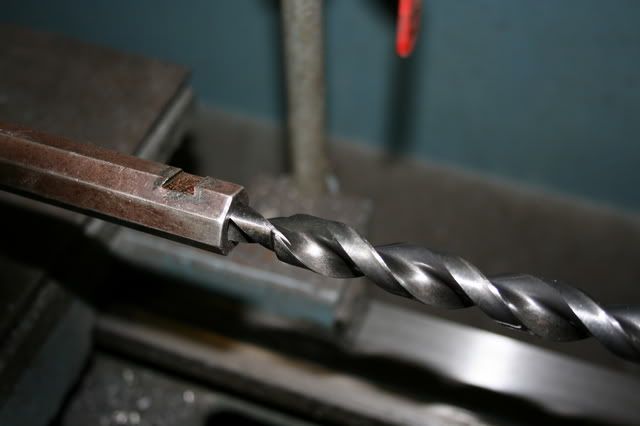
Relining the barrel. A piloted drill is used with the pilot diameter matching the bore diameter which prevents the drill from drifting off center. If you have ever seen a relined barrel with an off center liner it is because a piloted drill was not used.
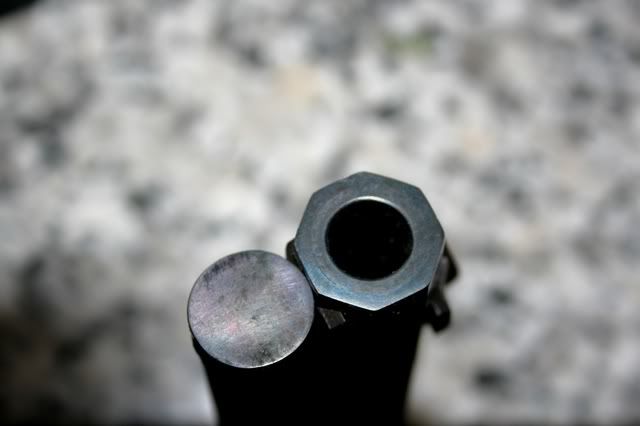
The liner has been installed and silver soldered in. I use silver solder because of the high melting temp (1200F).
Last edited by Jim D on Tue Feb 06, 2007 11:40 pm, edited 1 time in total.
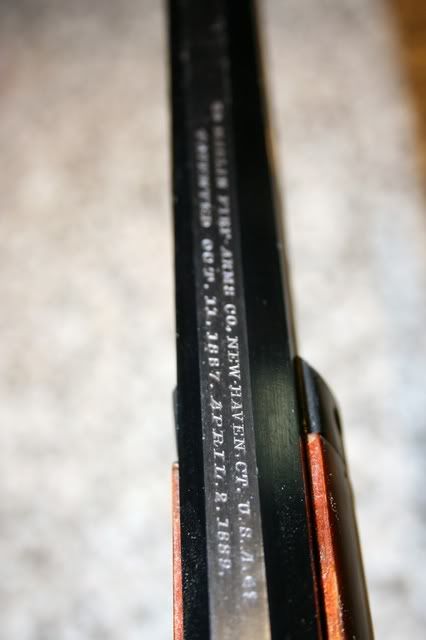
Dings are removed from the barrel by peening the dents back to the original contour with a small ball peen hammer. The barrel is then carefully block sanded starting with 150 down to 400 grit emery paper wetted with oil. If you're careful and there was not a lot of dents or pits around the markings, you can preserve them. These are the original markings.
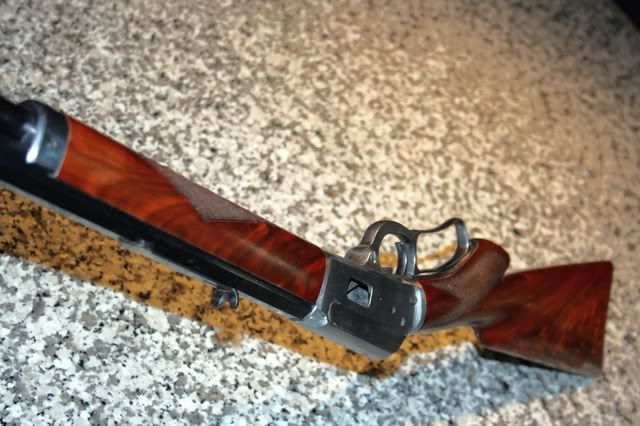
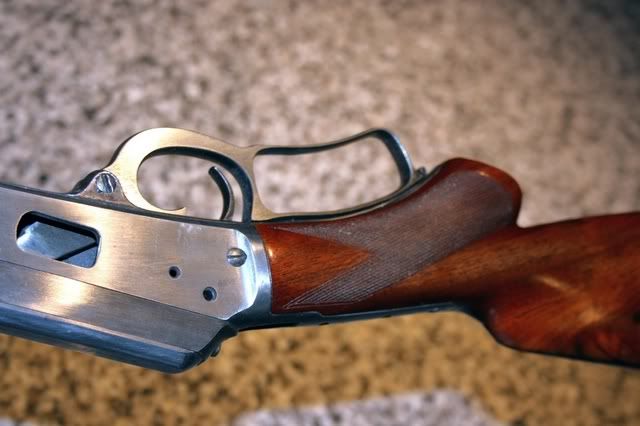
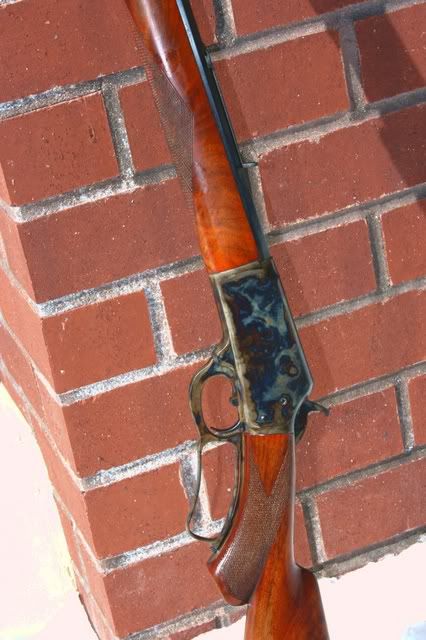
The finished stocks. The forearm magazine and barrel channels are cut on a vertical mill, fitted to the receiver and forearm cap and shaped by hand. The checkering is 20 LPI which matches the spacing of the original pattern.
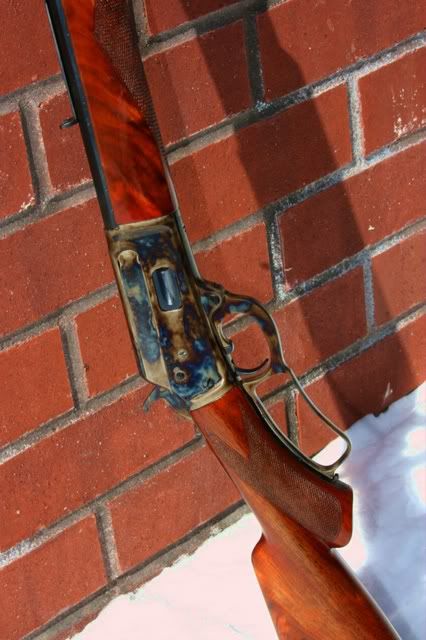
After some final polishing on the receiver, the next step will be color case hardening and reassembly.
Thanks for the comments guys! If anyone has a specific question of what, how or why I did something a certain way, I'd happy to answer it. Suggestions are always welcome too! I'll post final photos here after it's all done.
Original caliber was 44WCF (44-40) which is what I relined it to. The liner outside diameter is the same for a 44 WCF as it is for a 38 WCF (38-40) however you will need a different piloted drill for the 38-40 bore even though the major diameter of the drill is the same. The drill shown came from Brownells. Midway USA sells piloted drills that use changable pilots that fit whatever bore diameter you are drilling out. With this concept you should be able to go from say a 25-20 to a 44-40 although a lot of work would be required on the action.
I received an email from someone viewing this post asking about the details regarding the stock and the stock finish so I thought I'd post the answer here.
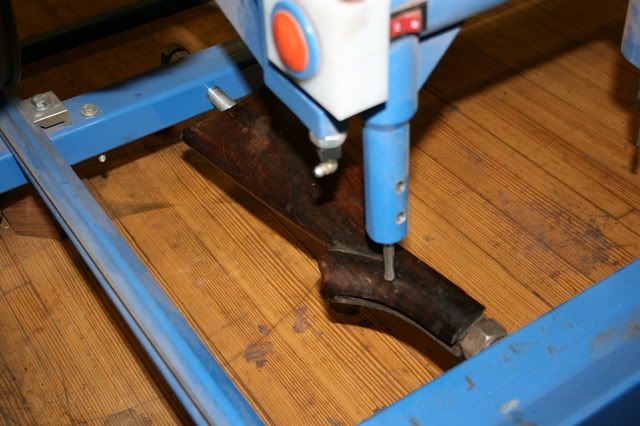
The stock wood is American Black Walnut which I by locally. I have a Terrco stock duplicator which is essentially a large two spindle router mounted on a mechanical arm. I can duplicate two stocks at once although I rarely do. The cutters are counter rotating to offset the torque. You can use different diameter stylus which controls how closely you cut. I usually try to cut the shape within 1/8" of the original shape. On the inleted areas I cut to within 1/16" to reduce hand fitting as much as possible.
American Black Walnut is a lot of times very dark, and after it's stained, almost too dark. I use a 2 part wood bleach by Klean-Strip that lightens up the wood, available from Woodworkers Supply. This is a great product that also works very well for restoring original stocks if they atre stained or oil soaked. This is strong stuff- wear gloves!
For the stain, I use a water based powdered stain from Brownells. They sell a kit that contains different colors and you can mix any color that you like. This is also a great product, and the only way I've found to duplicate the original colors on these old guns. The colors are very easy to control. Mix some up and put it on a test piece of walnut. Wear gloves. It will take two weeks to get this stain off of your fingers!
For the finish I use Casey's Tru Oil. I apply it by dipping a small piece of 0000 steel wool in the Tru Oil and rub in a circular pattern. Let it dry and do it again. And again.... This will fill the pores of the wood. Once the pores are all filled, I will rub on a few coats of Tru Oil with a piece of cloth. If you want a duller finish you can then rub down stock with Whitting Compound, also from Brownells.
For the checkering, I lay Scotch Tape over the original pattern, lift it off and lay it on the new stock. I then cut the boarder and the master lines on the new stock. I use a two row spacing cutter to lightly cut my spacing lines and deepen them up each row at a time with carbide single cutter. This makes it easier to cut the next row. Once I get one side done, I lay two sided sticky Scotch Tape on the pattern and cut it out around the border. I then lift off the tape and put it on the other side to transfer the pattern.
What a great post Jim! I really appreciate the effort and time to share this information with the group!
You've done a great job on the 1889, and it will be spot on correct as compared to what Marlin did. I'm sure you've done a lot of research to ensure it's a correct restoration.
You didn't mention if you left the barrel shortened, or if you lengthend it before relining it? What length is it?
Vall
Marlin lever actions 1870's-WWI, Ballards, and single shot rifles!
Thanks for your kind words! I wanted to put the old girl back in her original state so I borrowed a barrel and mag tube from a standard '89 in the same general condition. I'm either going to reline the short barrel as is, or poke around in my old barrel bin and see if I can find something to splice together.
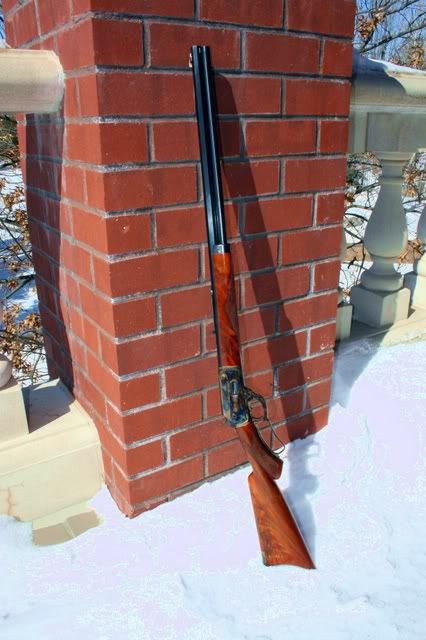
Now that's just plain beautiful! It's scarey to think how close it looks to what a new 1889 would have been back then! Now that you're done you're probably looking for another 1889 deluxe to work on, huh?
Marlin lever actions 1870's-WWI, Ballards, and single shot rifles!